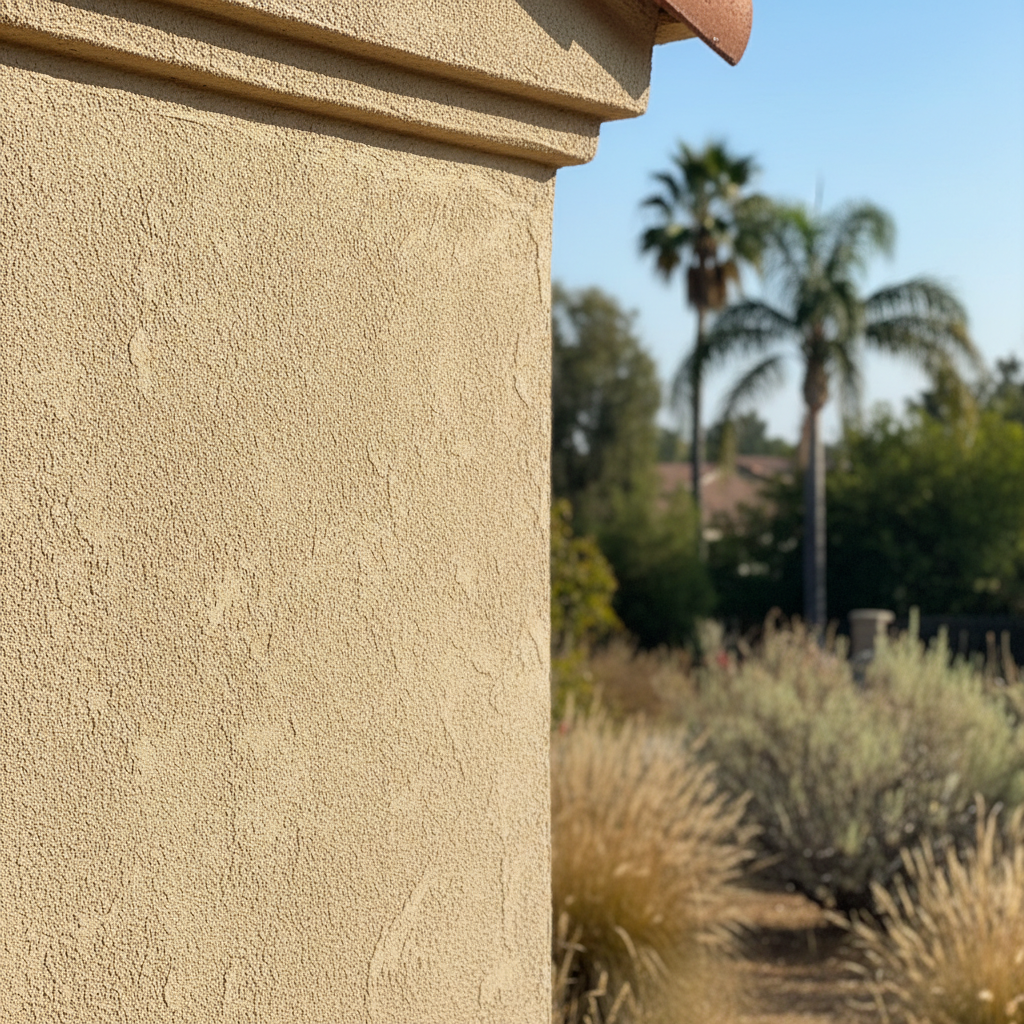
So, you're looking at your home's stucco and thinking it could use a refresh, maybe even a whole new look. Redashing is a great way to do that, and it's something a lot of Arcadia homeowners ask me about. It's not a full stucco replacement, you know, but rather putting a new finish coat right over your existing stucco. It can totally change your home's curb appeal without tearing everything down.
What Exactly is Stucco Redashing?
Think of redashing like giving your house fresh, new skin. We're talking about applying a new layer of finish coat – sometimes called a 'color coat' or 'top coat' – directly over your existing stucco. This isn't just paint; it's a cement-based material that gives you a tough, textured finish. It's perfect for covering up minor flaws, changing the color, or updating the texture of your home's exterior.
You'd typically consider redashing if your stucco is structurally sound but just looks faded, stained, or has a texture you're tired of. If you've got big cracks, loose sections, or water getting in, then you're probably looking at more extensive stucco repair first, or even a full replacement, before redashing becomes an option. That's a different ballgame entirely.
Before You Start: DIY or Call a Pro?
This is the big question, right? Can you tackle this yourself, or should you bring in someone like Genesis Stucco Company? Here's my honest take:
- Small, contained areas: If you're just doing a small patch, say, a low garden wall or a tiny section of a shed, and you're comfortable with a trowel, you *might* be able to DIY. The materials are available at most hardware stores.
- Your entire house: Absolutely not a DIY job for most homeowners. I've seen too many well-intentioned DIY redashing projects go south. Stucco work, especially putting a finish coat evenly across large surfaces, takes practice, skill, and specialized tools. It's not just slapping mud on a wall. You need to get the mix right, the application consistent, and the texture uniform. If you mess it up, it's a huge headache to fix, and trust me, it'll show.
For anything beyond a very small, non-critical area, you'll want a professional. They have the experience to check out the existing stucco, get the surface ready correctly, mix the materials consistently, and put the finish on evenly. Plus, they've got the scaffolding, spray rigs, and other equipment that make the job efficient and look good. What a difference that makes!
The Process: What to Expect
1. Surface Prep is Key
Whether you DIY a small section or hire us, surface preparation is crucial. You've got to clean the existing stucco thoroughly. We're talking power washing to remove dirt, grime, loose paint, and anything else that might stop the new coat from sticking properly. Any existing cracks need fixing, and loose stucco sections must be chipped out and patched. Sometimes, we put on a bonding agent to make sure the new material sticks well, especially over painted surfaces. This step can't be skipped.
2. Mixing the Material
The new finish coat comes in bags, usually pre-colored. You mix it with water following the manufacturer's instructions. This is where consistency is super important. Too much water, and it's weak and runny; too little, and it's hard to work with and can crack. Pros use large mixers to make sure everything's uniform. For a small DIY job, a drill with a paddle mixer might work.
3. Application & Texturing
This is where the magic happens, and where the skill gap between DIY and pro really shows. The new finish coat goes on evenly over the prepared surface. Depending on the texture you want – smooth, sand, dash, or something else – different techniques and tools are used. For a dash finish, it's often sprayed on, which needs specialized equipment and a steady hand to get that uniform, pebble-like look. Trying to hand-dash an entire wall evenly is incredibly difficult.
For example, many of the older homes in Arcadia, especially those charming Spanish-style ones up in the foothills, have a specific dash texture. Getting that consistent across a whole wall, or even just a patched section, takes a lot of practice. If you're doing a smooth finish, you need to be a master with a trowel to avoid lines and imperfections. No pressure, right?
4. Curing & Drying
Once applied, the stucco needs to cure properly. This isn't just drying; it's a chemical process. Keeping it moist for a few days, especially in our hot Arcadia summers, helps it get as strong as possible and stops early cracking. We'll often mist the walls periodically. Don't rush this part.
After the Redash: Maintenance
Once your redashing is done, it's pretty low maintenance. Just like your original stucco, keep it clean. A gentle power wash every few years can help. Watch for any new cracks, especially around windows and doors, and deal with them quickly. Proper drainage around your foundation is always important, too, to prevent moisture issues that can affect stucco.
Redashing can breathe new life into your home. If you're considering it for your entire house, save yourself the headache and call a professional. You'll be glad you did when you see that beautiful, consistent finish.